Automated Dr. Pepper Can
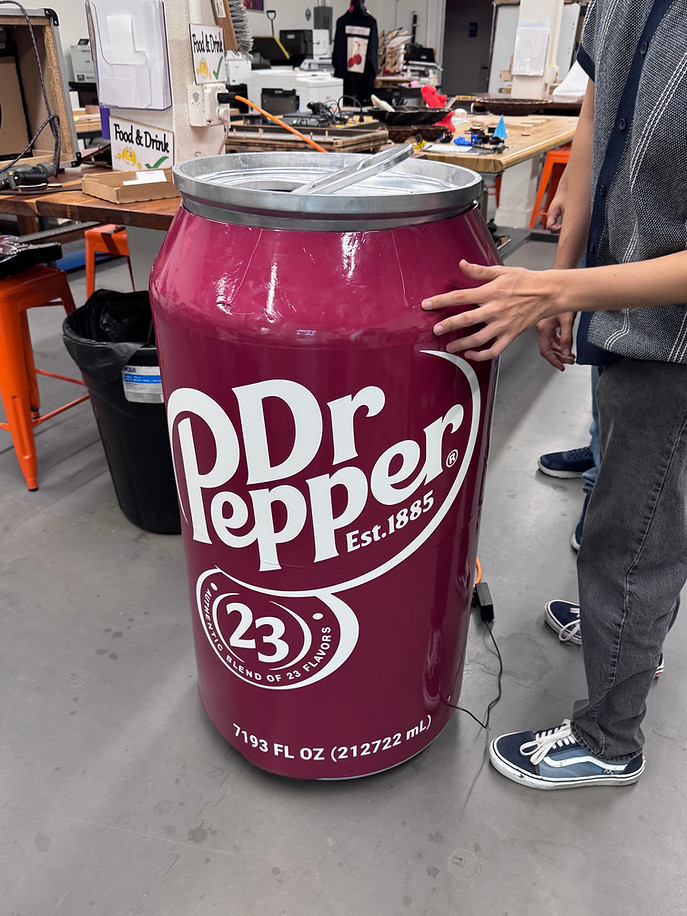
Why: As a part of a scholarship application I made a 43-inch tall, self-opening Dr. Pepper can. Thanks to years I dedicated at a makerspace independently learning, rapidly prototyping and helping others start projects from scratch, I completed the project ideation, CAD, coding, wiring, fabrication, sourcing of materials/components, assembly and cosmetics all within 20 days.
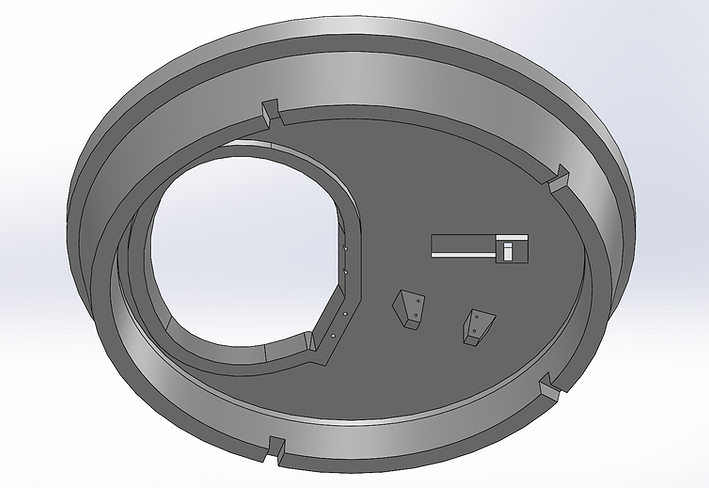
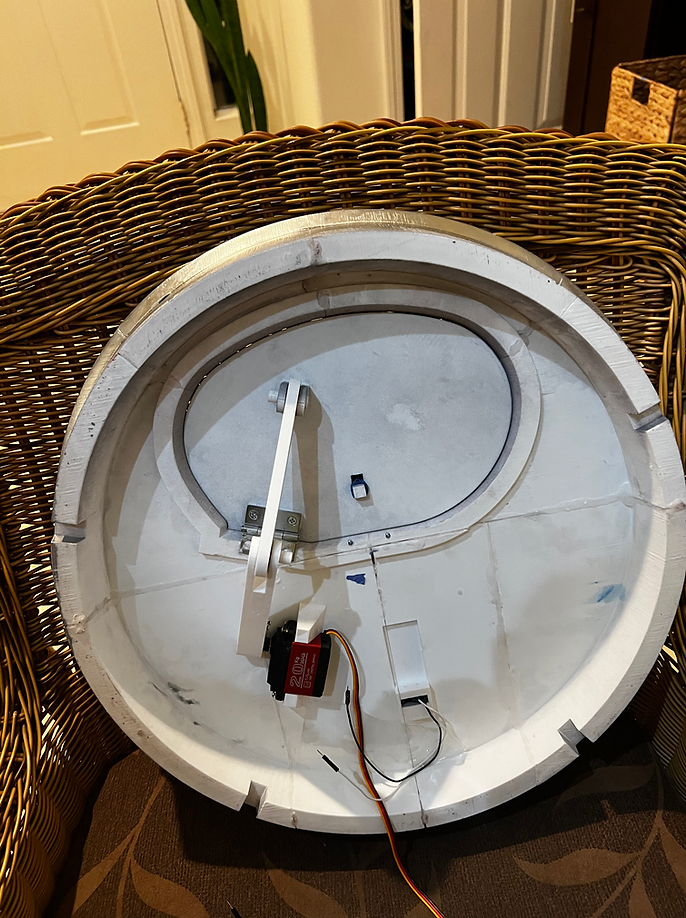
How it works: The pull tab of the can is pressed down to click a limit switch, located at where the pushed down tab would normally make contact with the lid. This initiates a servo motor which is mounted to the underside of the lid and has two arms connecting the opening tab of the can to the shaft of the servo motor. It slowly opens the can and there is an elastic connector between the underside of the pull tab and the opening tab of the can and the pull tab is hinged at the edge of the opening, therefore when the opening tab is pulled downwards, the pull tab goes along with it, making it appear that the can is opening itself like a traditional can. Once the servo has reached a certain angle, there is an internal elevator that functions via a typical rack and pinion gear set up (powered by a dc motor), which lifts the can up and out of the opening. After the can has been there for a few seconds, it goes back down until another limit switch is hit at the bottom, only then does the servo reactivate to return to its starting position.

Video Submission
Planning
My initial idea was to have a fully refrigerated custom unit but with 20 days on the line, I had to make sure I had an MVP for my video especially since you cannot tell temperature from a video.
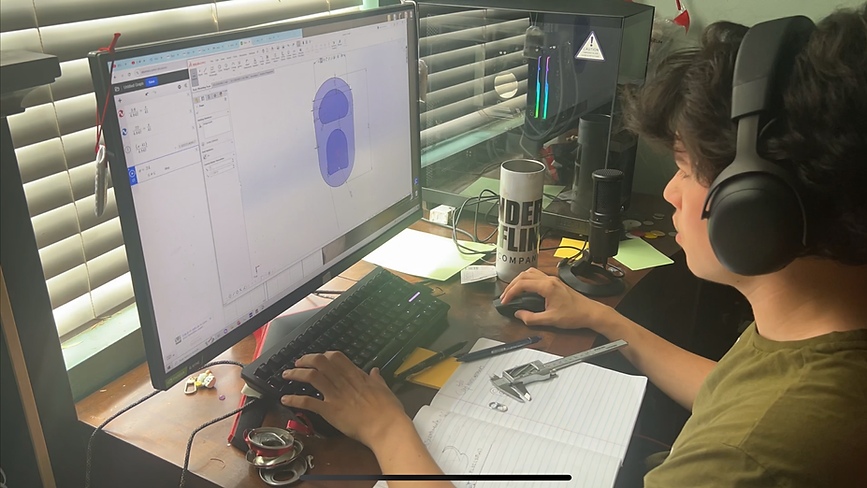
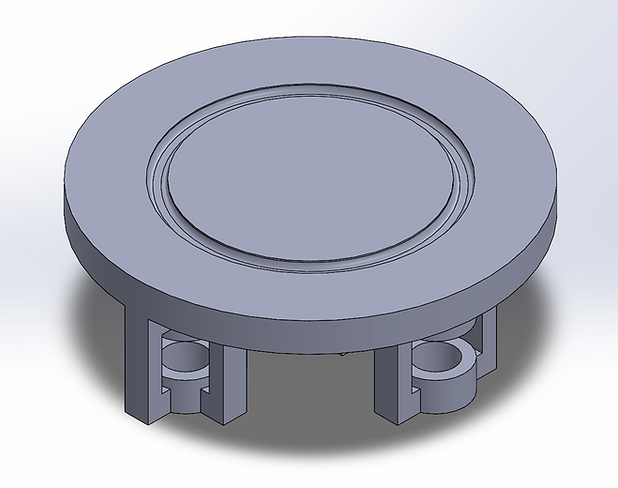
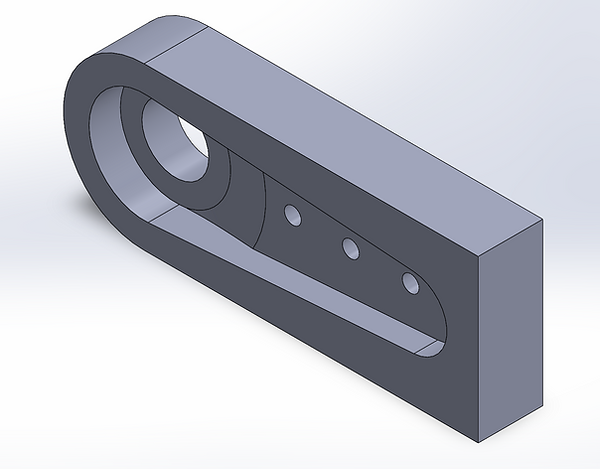
The first step was to take measurements from a real can and begin to model each part in SolidWorks.



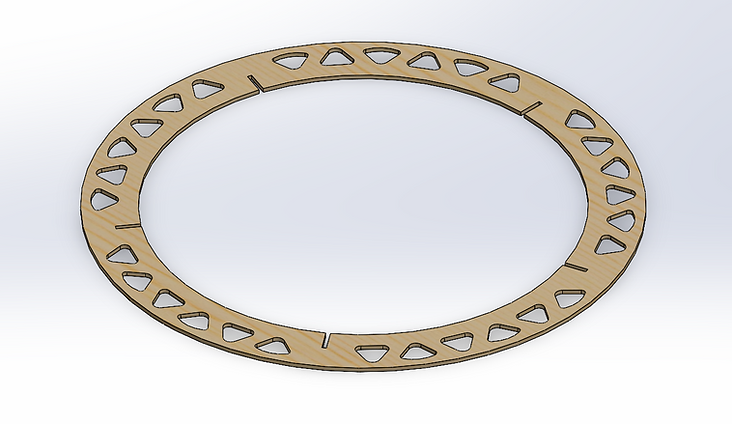

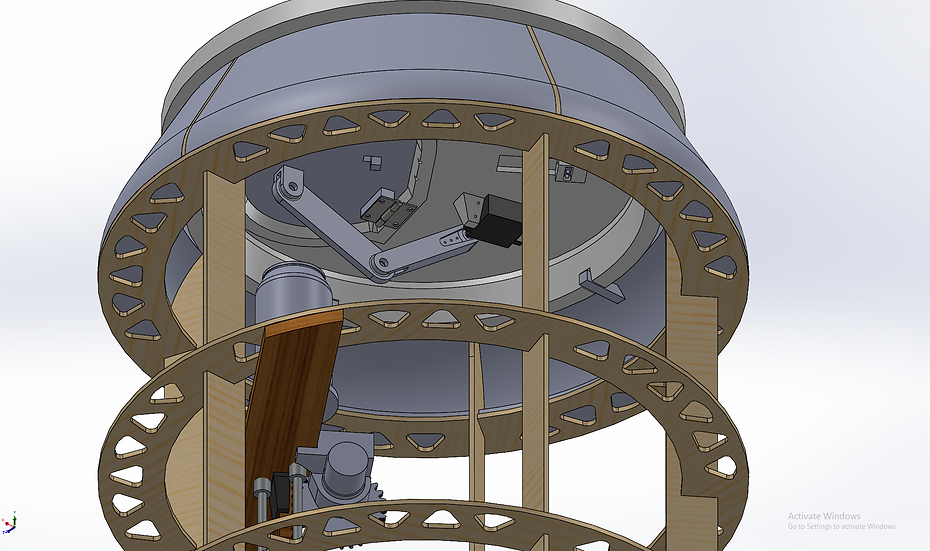
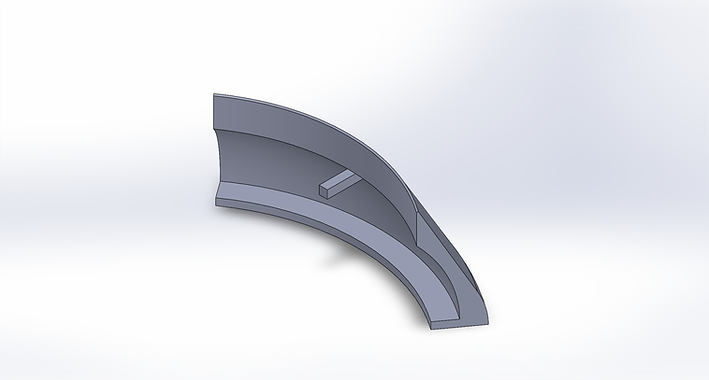
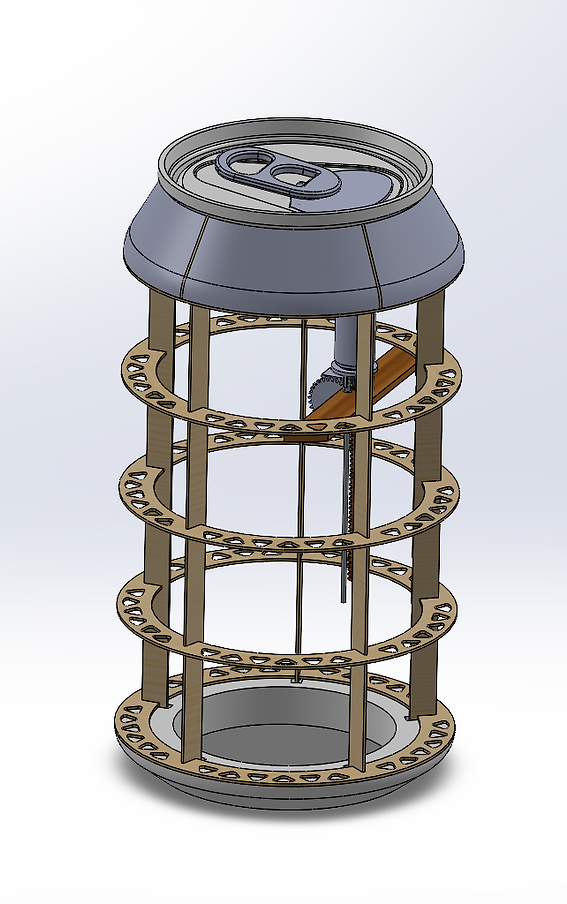




Manufacturing
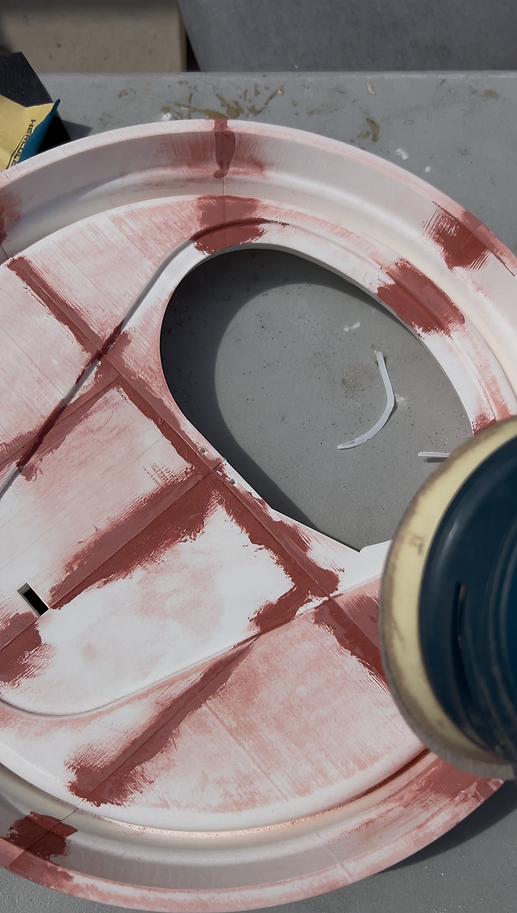
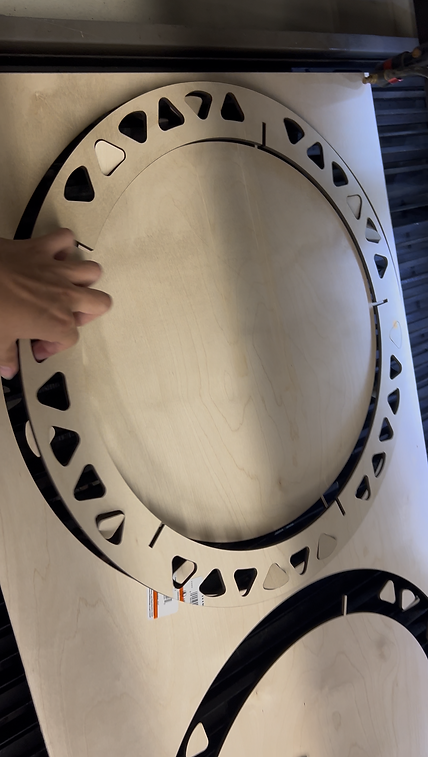
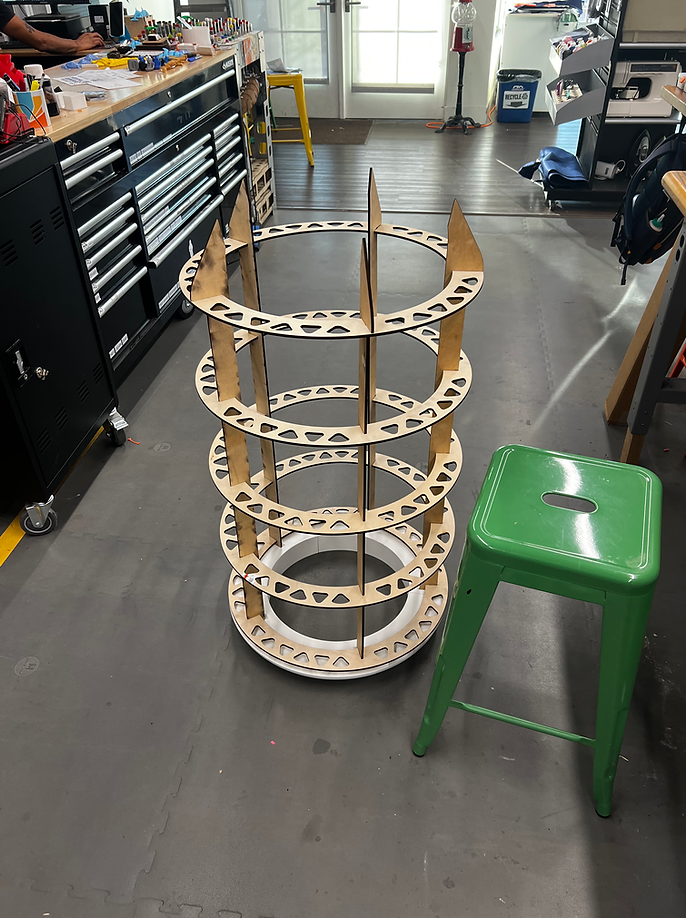
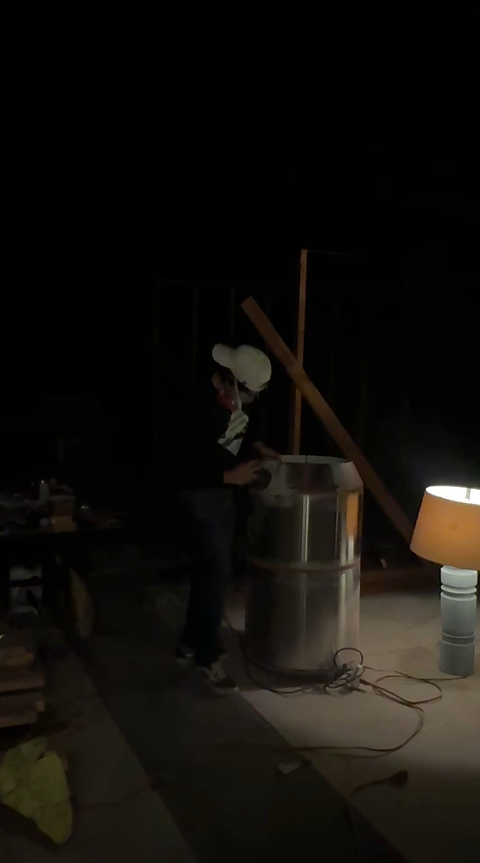
The complex geometry was 3D printed, namely the lid, shoulders and the bottom. In order to get rid of layer lines, red automotive putty was applied to the seams formed by gluing the printed parts together. The putty was then sanded down and then sprayed with silver reflective spray pain. The frame of the can was made out of 1/4" Plywood that I cut using a CO2 laser and I designed the rings and ribs to interlock with each other.



Electronics, Coding and Video Creation
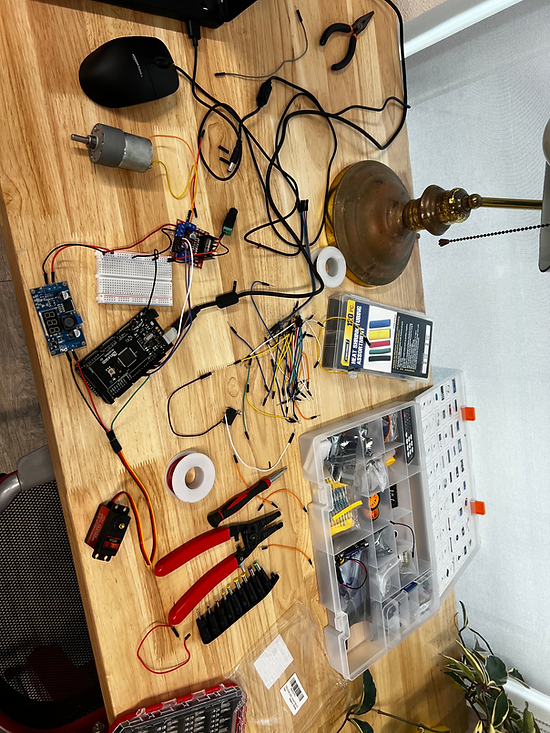
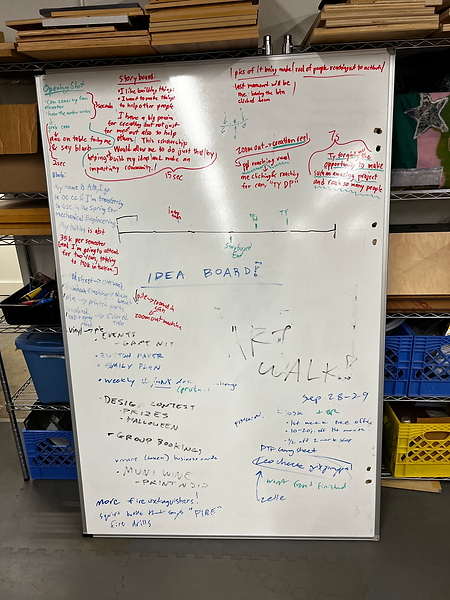
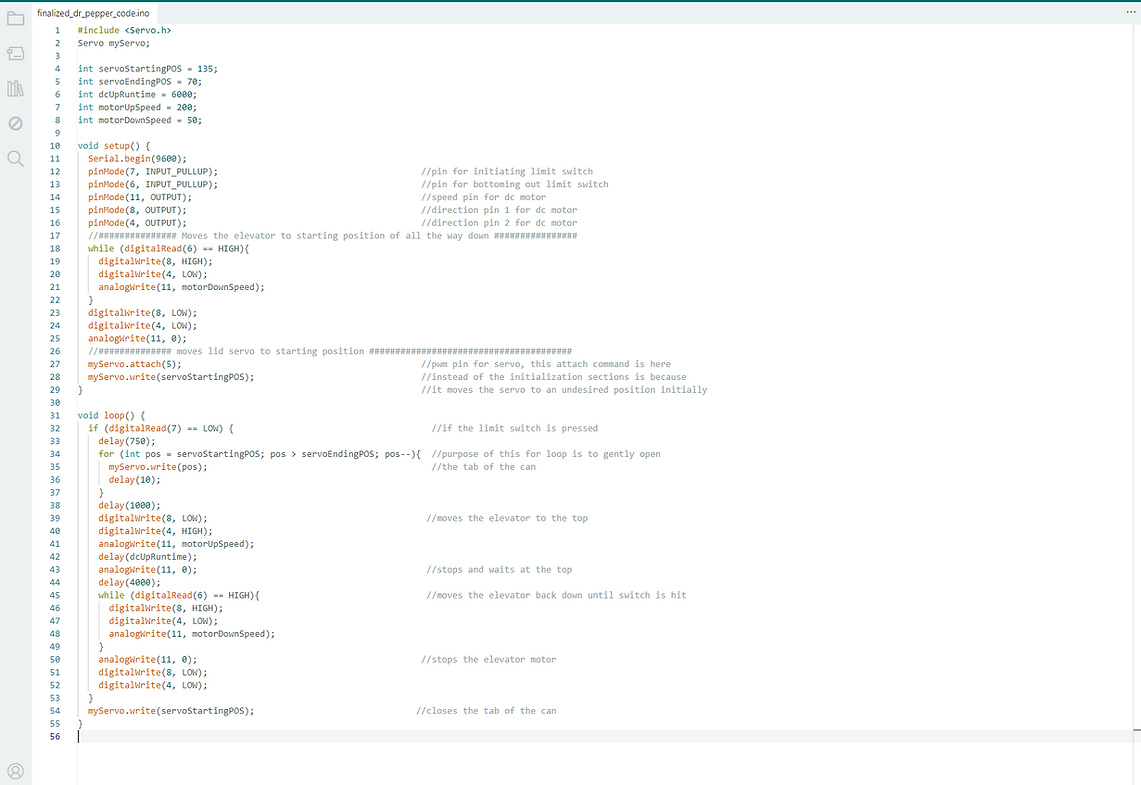
The outline of my video was written on a whiteboard the day of the shoot. The entire video was shot in one full day and thanks to my friend Leo, editing took just one day. The electronics consisted of an Arduino Uno, L298N motor controller, a buck converter, a DC motor, two limit switches, and one servo, all of which was powered via a 9v 2.5A power supply. The code was written in a way where the entire system could be powered off at any point and it will reset itself once the Arduino receives power again.


Questions?
Create Your First Project
Start adding your projects to your portfolio. Click on "Manage Projects" to get started